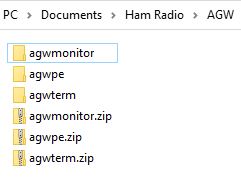
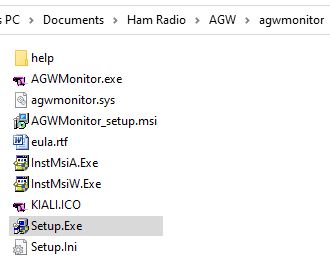
Extract the files in each ZIP to a folder in the AGW directory. At this point the AGW folder will look like this:
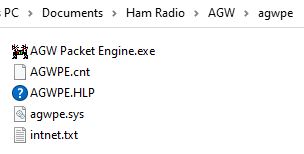
Open the "agwpe" folder and delete all the non-english files (i.e. brazil.zip, italian.zip, etc). The "http" folder can also be deleted.
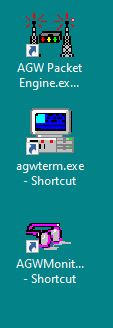
Create a "AGW Packet Engine.exe" shortcut and move it to the Desktop.
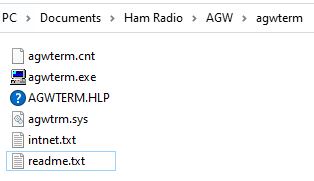
Open the "agwterm" folder and delete the "FRANCE.doc" and "France.txt" files.
Create a "agwterm.exe" shortcut and move it to the Desktop.
Open the "agwmonitor" folder.
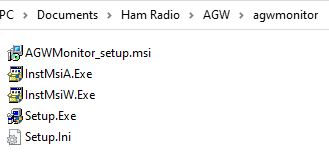
Only the AGW Monitor has a setup file. Click the "Setup.Exe" to start the monitor installation. The default installation folder is the "C:\Program Files (x86)\AGWsoft\AGWMonitor\" directory. I chose to install into the "agwmonitor" folder (i.e. C:\Users\Owner\Documents\Ham Radio\AGW\agwmonitor\).
Create a "AGWMonitor.exe" shortcut and move it to the Desktop. Rename the shortcuts as desired.
Click on the "AGW Packet Engine" shortcut. Do all the "allows" and "agrees".
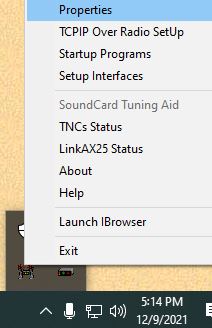
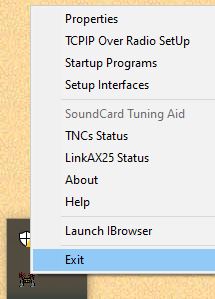
Click on the "^" symbol in the system tray. Click on the AGWPE icon  and select "Properties".
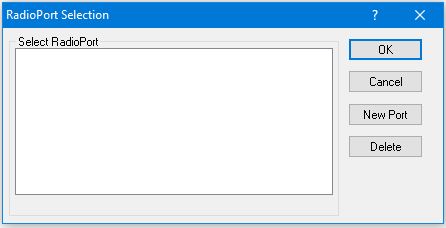
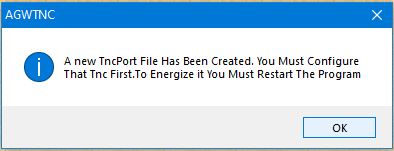
From the "RadioPort Selection" dialog box, select "New Port". An information dialog appears. Click OK.
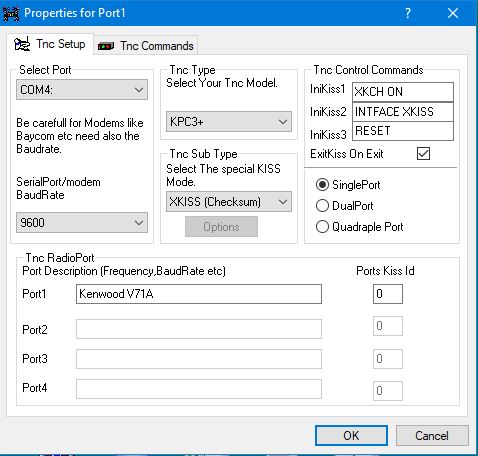
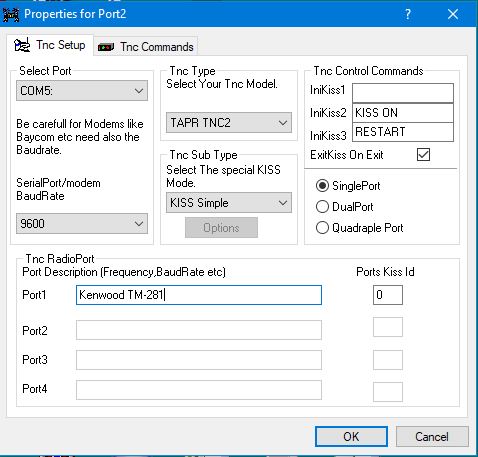
The "Properties for Port 1" dialog appears. From the "Select Port" pulldown, enter the TNC com port. From the "SerialPort/modem baud rate" select 9600, if necessary. From the "Tnc Type" pulldown, select your TNC model. Enter a description in the "Tnc RadioPort Port 1" box (i.e. "Kenwood V71A"). Click OK. On the left is the RadioPort Properties for my KPC3+; on the right is the RadioPort Properties for my generic TNC-X.
A "restart" box appears. Click OK.
Click on the AGWPE icon in the system tray and select "Exit".
From the Desktop, click on the "AGW Packet Engine" shortcut. Then click on the "AGW Monitor" shortcut. The AGW Monitor appears. As a check, switch the radio to the APRS digi (i.e. 144.390) to see if Monitor captures and displays APRS packets.

If the Monitor is working, leave it open and click on the "AGW Terminal" shortcut. The AGW Terminal appears. (The guy from Las Vegas will eventually disappear!)
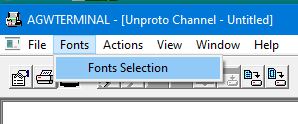
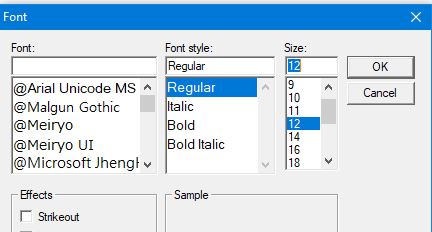
First thing, from the menu, select a font size appropriate for your screen.
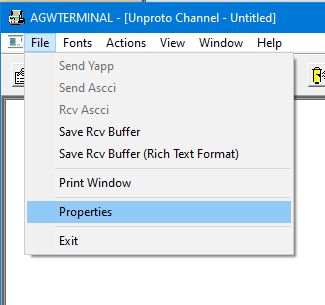
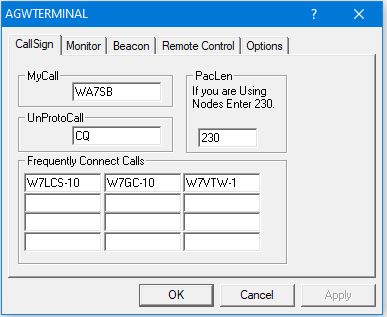
From the menu, select "File", then "Properties". In the "AGWTerminal" box enter your callsign. In the "Frequently Connect Calls" enter your favorite packet satations. Click OK. Close the AGW Terminal program and restart.
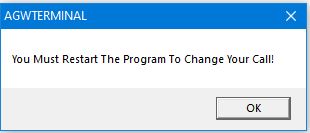
Click OK, close the terminal program and restart using the AGW Terminal shortcut.
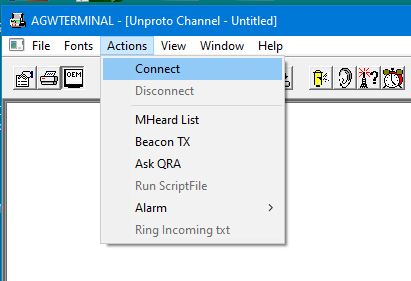
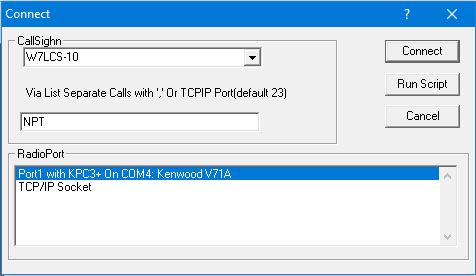
Now to connect to a station. From the menu, select "Actions" then "Connect". In the Connect dialog window, enter the callsign of the station, or use the drop-down menu, then enter the digipeater in the "Via List" as required. Click "Connect".
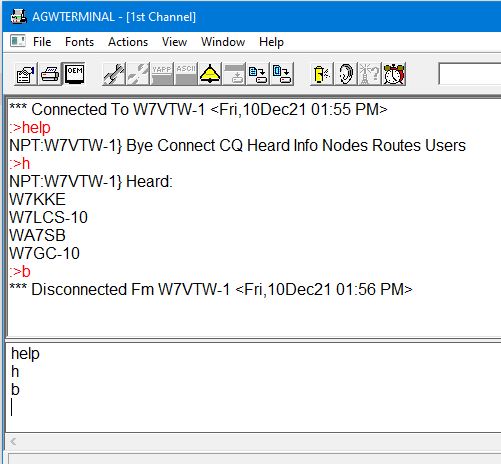
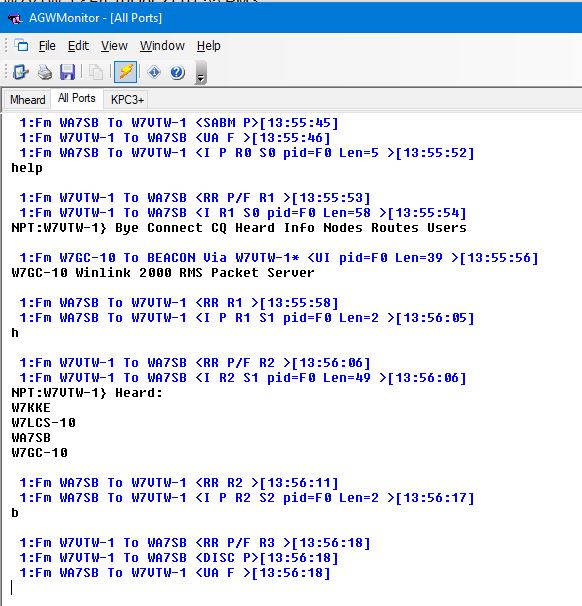
Note that AGW Terminal is split into two screens, the upper screen for the incoming messages, and the bottom screen where keyboard commands are sent. Watch the AGW Monitor screen to view the packet traffic. If AGW Terminal sucessfully connects, the Terminal may annoyingly chime six times before the messages shows in the top screen.
For example, I connected to W7VTW-1 (NPT). The top screen tells me that I'm connected. In the bottom screen, each command is typed and then hit "Enter" on the keyboard. The left picture is the Terminal display and the right picture is the Monitor display. After disconnecting, the Terminal may again chime six times. (If you find the setting for this, please let me know.)
When finished, close both the Terminal and Monitor and click on the AGWPE icon in the system tray and select "Exit".
Disclaimer: I am by no means a packet or AGW expert. I only know enough to do basic operations. But I'm learning.
Any comments or further questions can be sent to me at:
Rick Hallowell